2013 Subaru Outback Napa Rear Wheel Bearings Review
Subaru rear wheel bearing! It's a Subaru affair....
Subaru's and cycle bearings… a match not made in Heaven. Some might even recollect they hate one another with a passion. Lucky for us Subaru decided to apply bolt in hub bearings after 2008 on basically all their vehicles, this volition be the style we are replacing today.
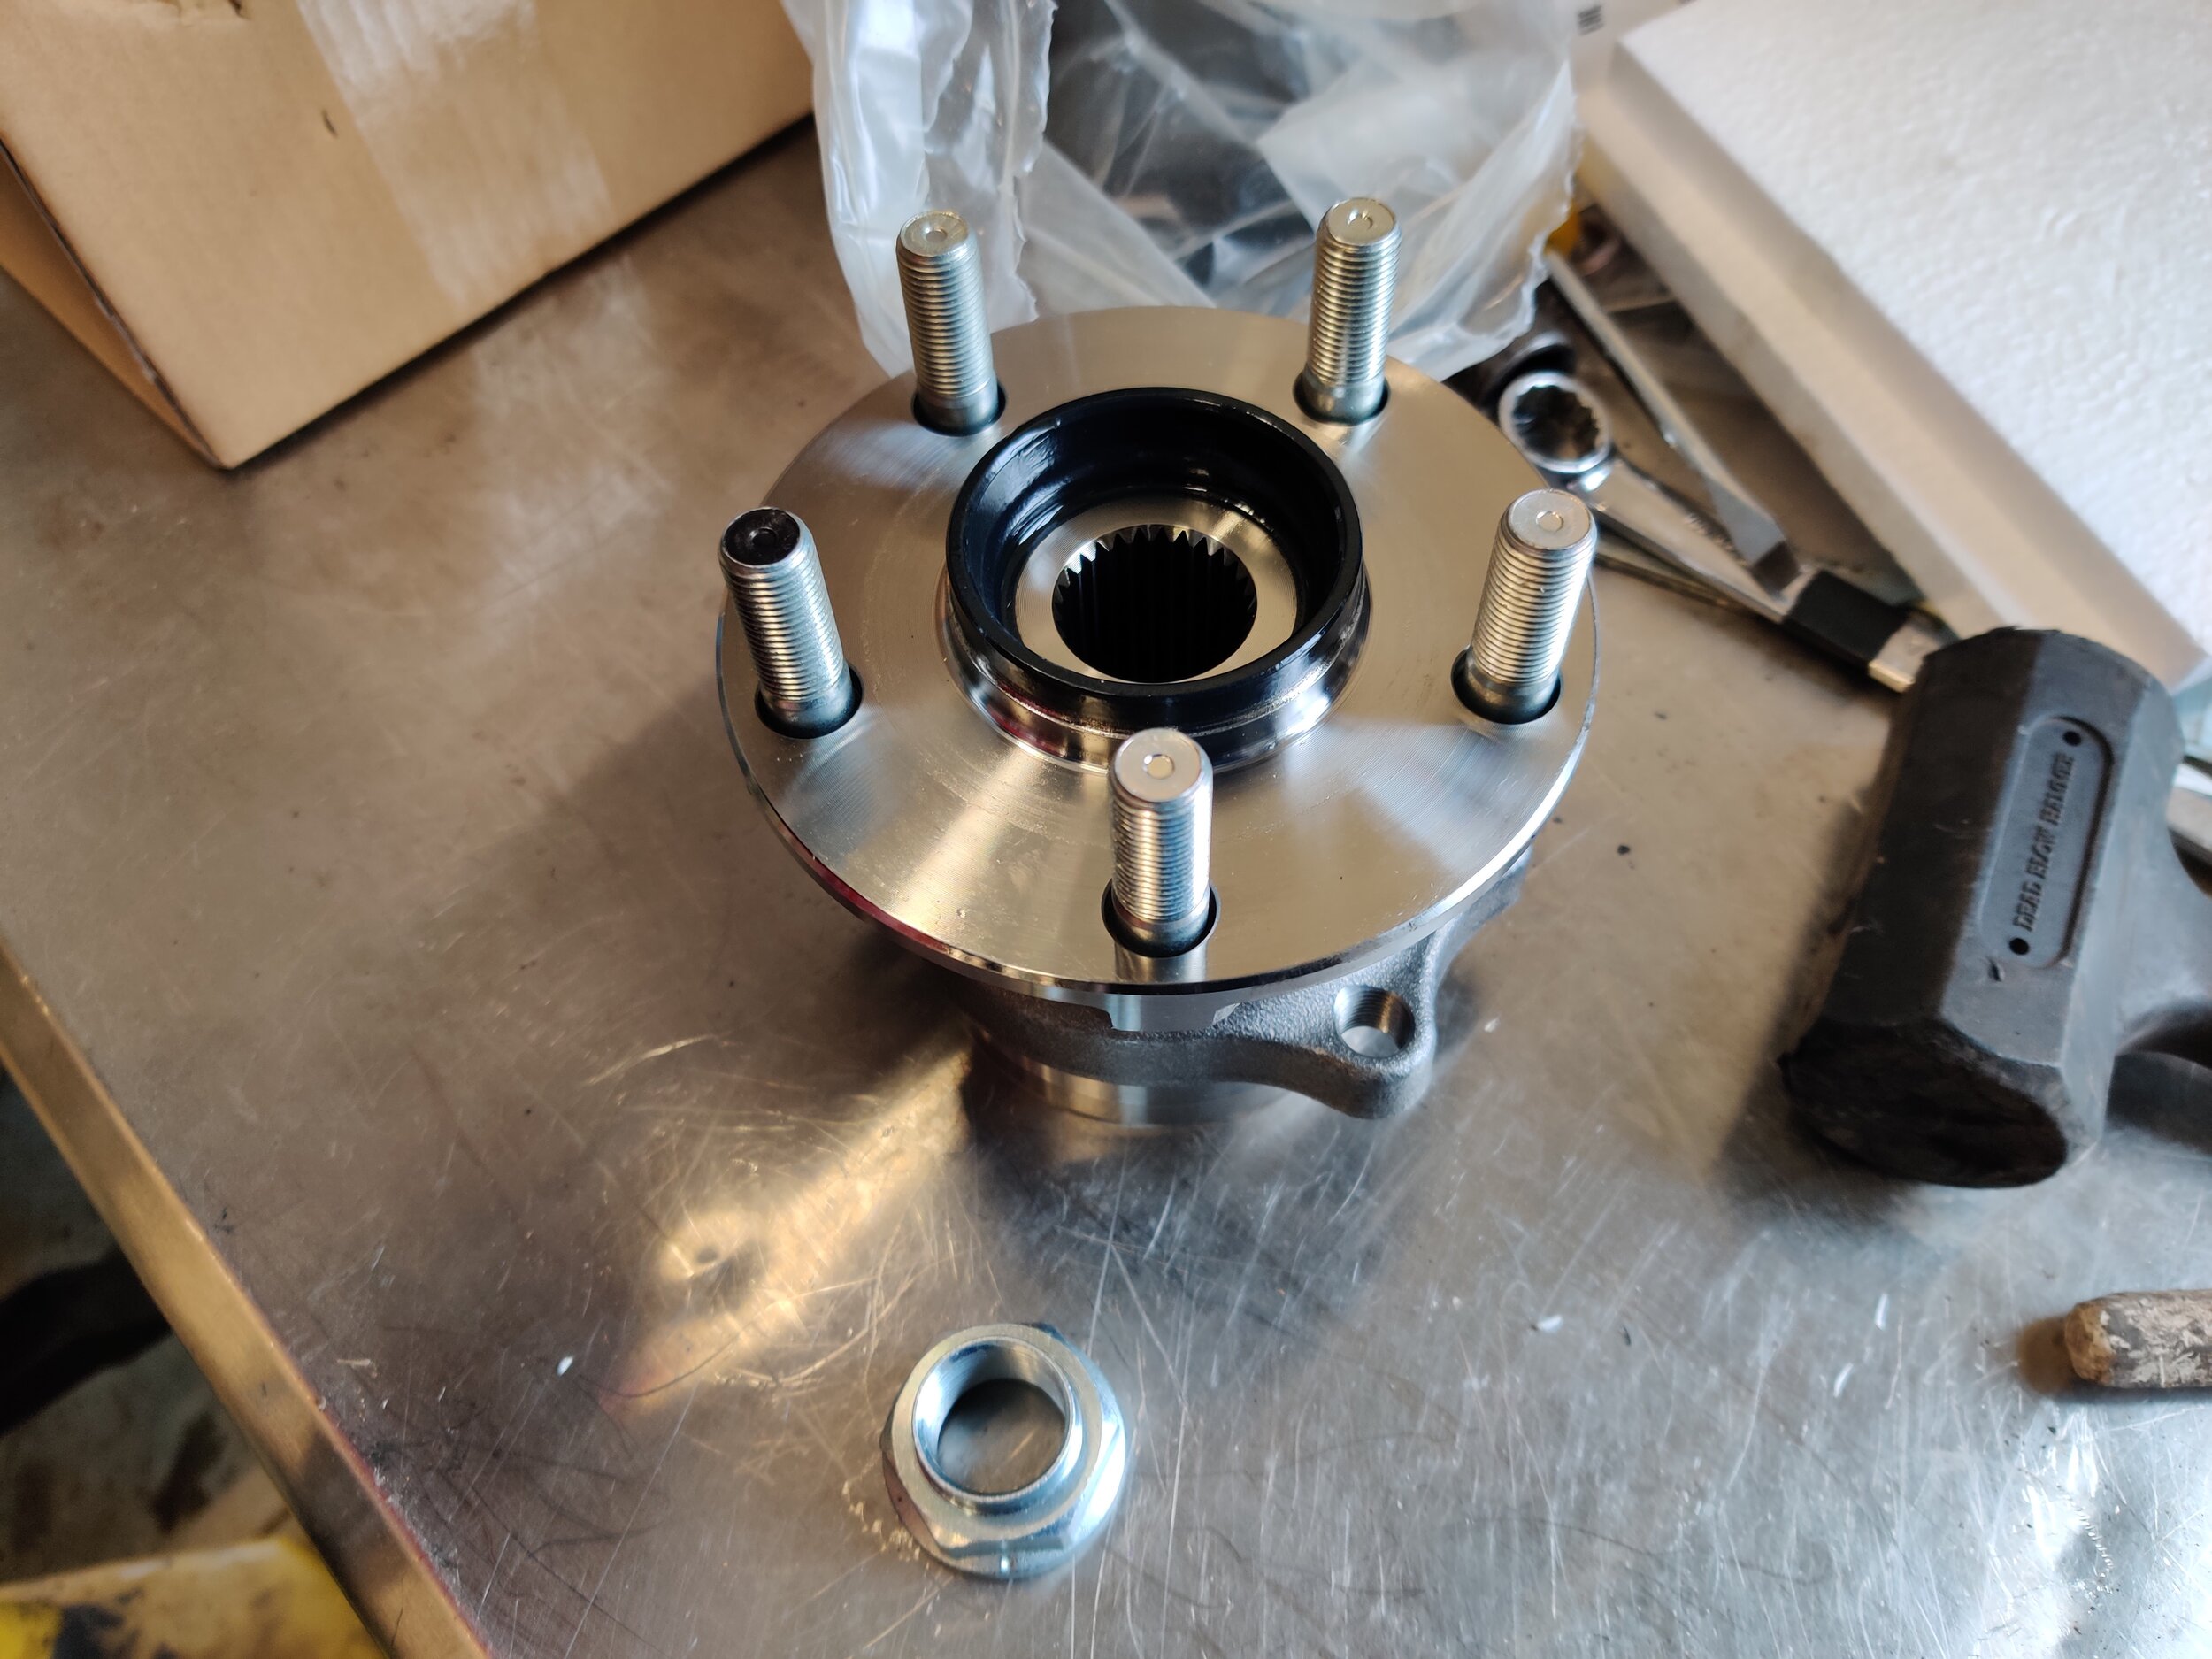
New begetting and beam nut set for service!
If you lot are hearing a prissy humming racket from the rear of your car, it is highly likely to be one of the rear bicycle bearings. If you take admission to a lift you lot can use a stethoscope to heed to the backside of the hub and discern which is the unit that needs replacement. Otherwise you lot can exercise your best by listening within the motorcar while someone else is driving, sometimes you lot get a amend ear from a dissimilar seat.
Time frame
This is a tough one to gauge, if yous have a rusty underbelly of the car. Get set up for a fleck of a battle. For those with less rusty Subarus you will spend a good 30-50 minutes with your car. I recommend soaking everything behind the dust shield with rust penetrant to help you along in this.
Tools


Parts
As with about Subaru products they are symmetrical side to side. So if you are picking up a bike begetting either side takes the same part number. Brand sure to pick up a new Cv axle nut to torque information technology back down properly.
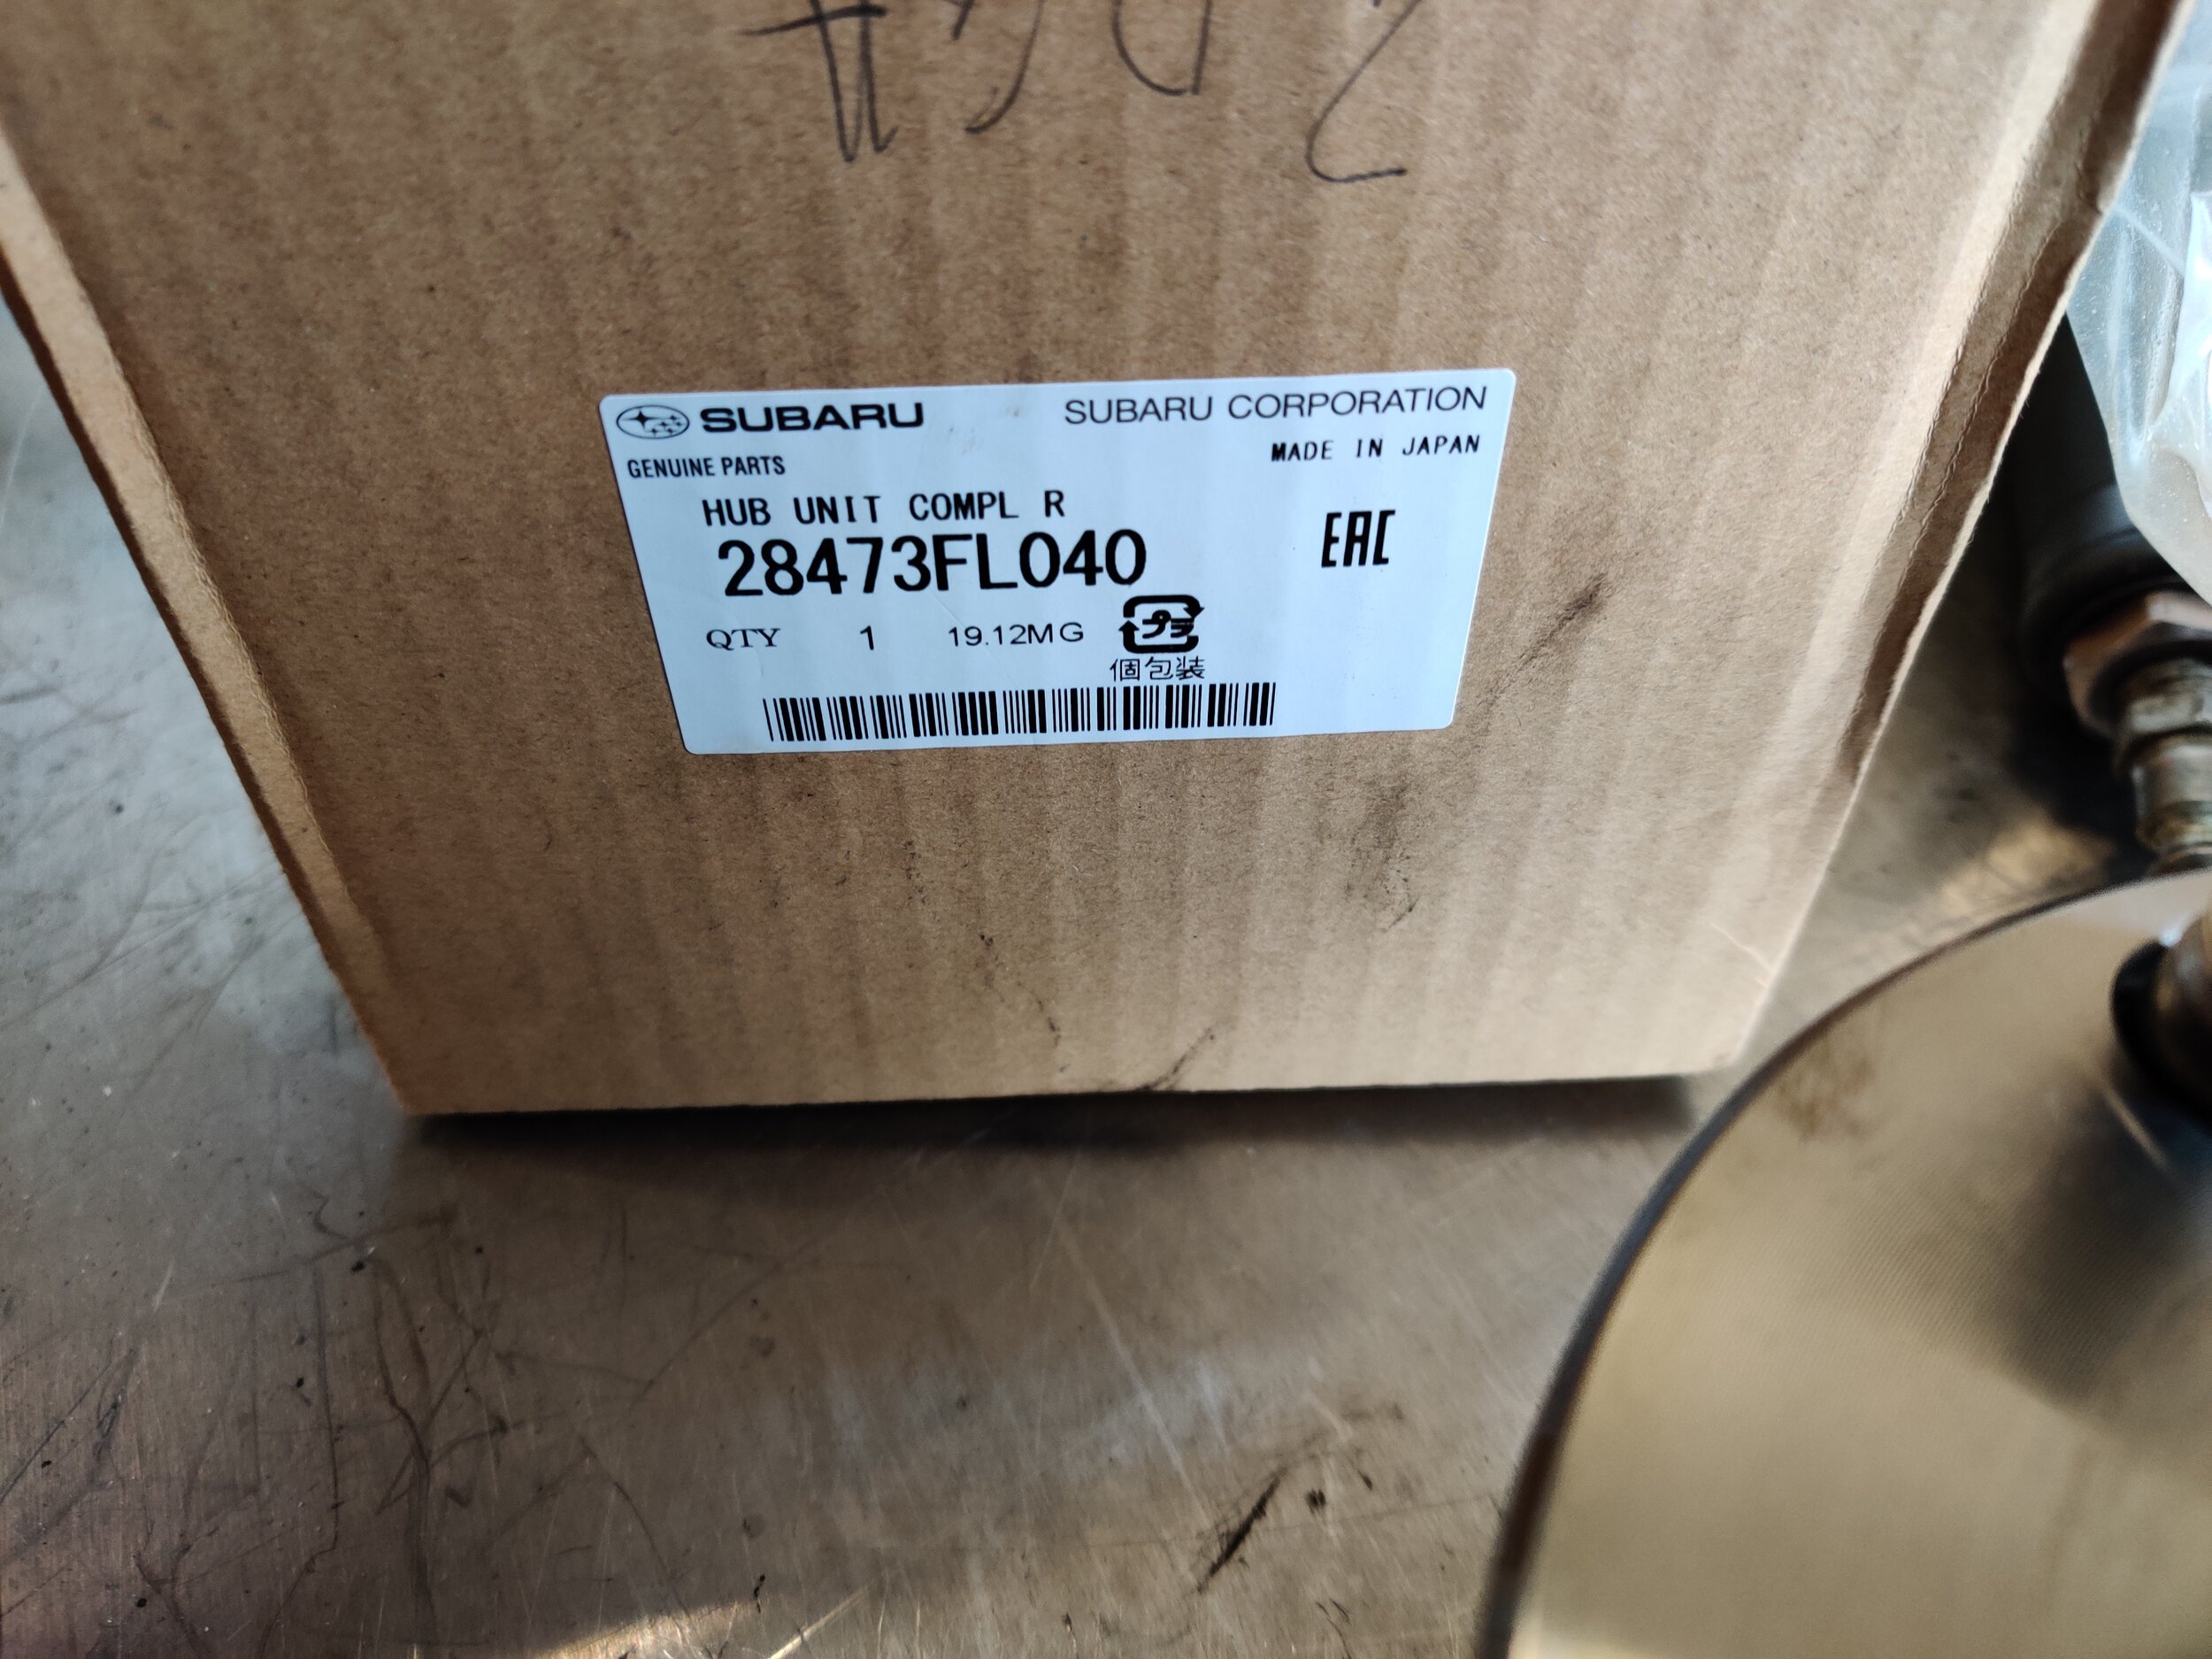
We are working on a Forester today then this is our part number and hither is a link. Forester hub bearing.

Shiny new parts! This fits
2013-2019 Crosstrek
2014-2018 Forester
2012-2019 Impreza (non turbo)
Installation
It's that time again to start some other repair and like many other repairs you lot will exist lifting the vehicle up. This repair involves plenty of hammering and prying, so make certain your vehicle is on jack stands and very stable to go on from pain y'all or any helpers.
Next we will remove the lug nuts and off with the wheel, and so set it safely to the side.
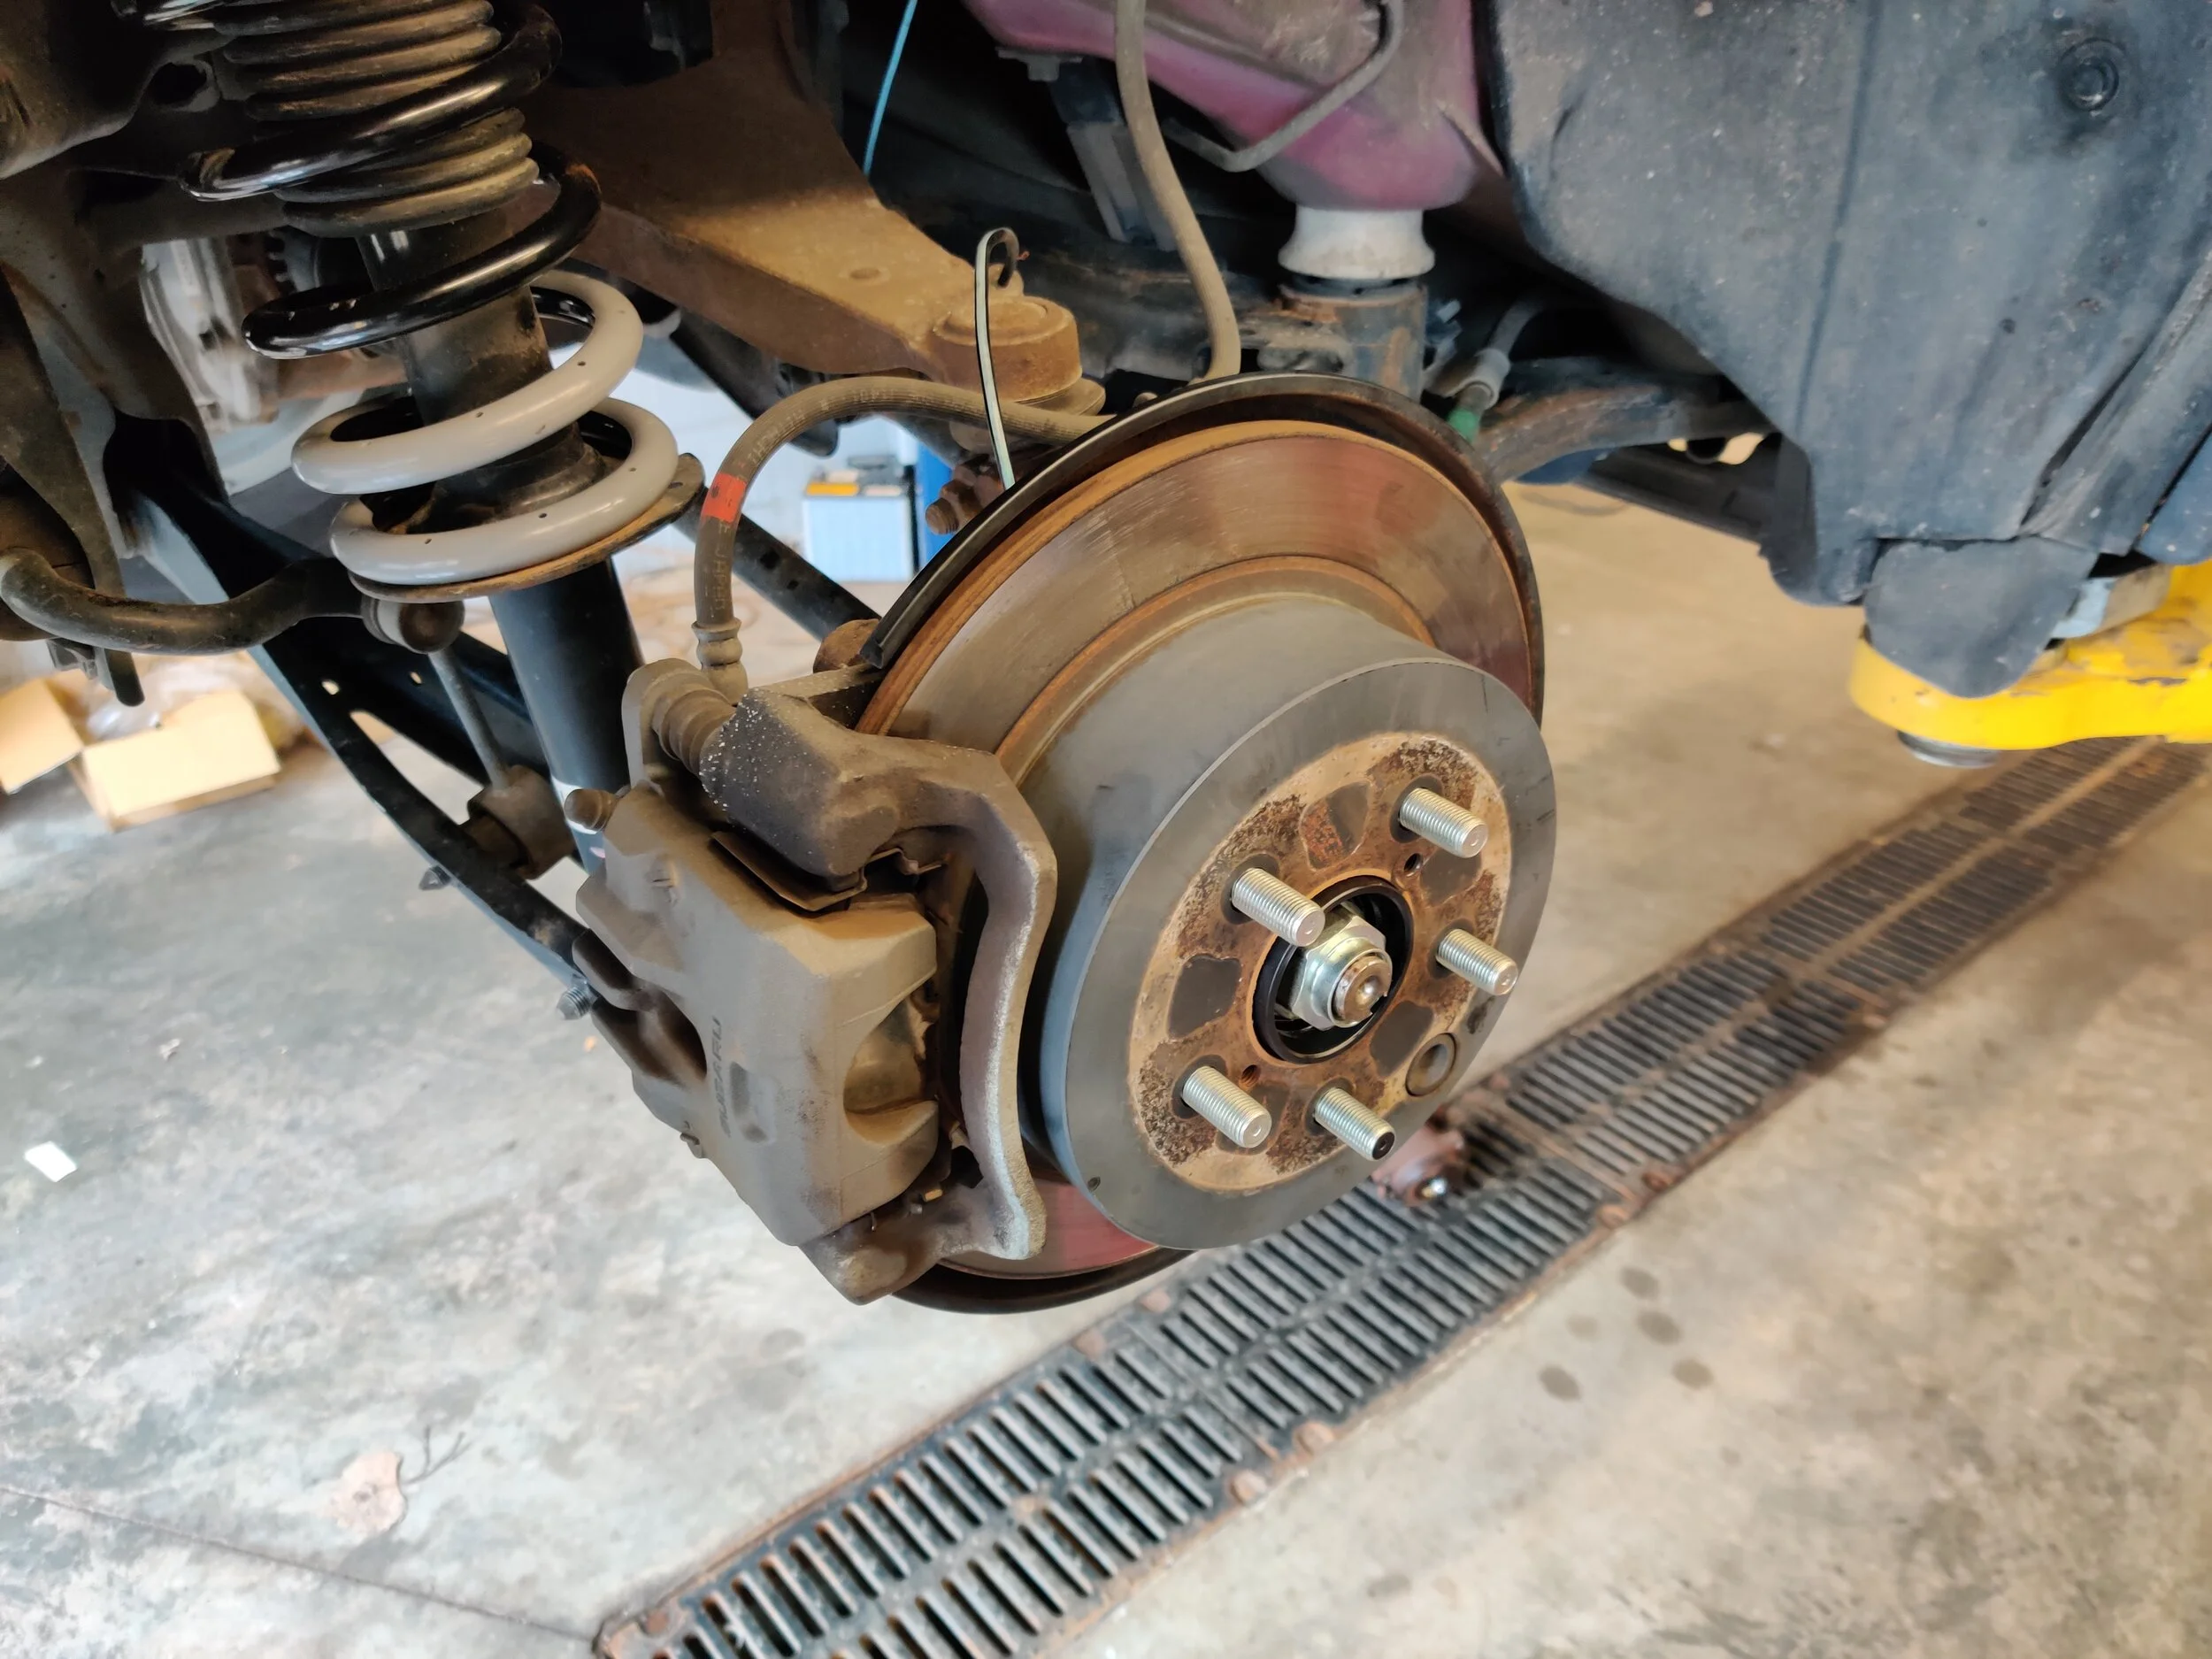
Here is where we begin, cycle off nosotros can now locate all the bolts nosotros demand to remove.
Nosotros can now locate the restriction caliper bracket and remove the 2 14 mm bolts that concord it on. You lot may now slide the caliper off and hang information technology out of the mode with a bungee string or wire claw.

Lower caliper bracket bolt tin be establish here
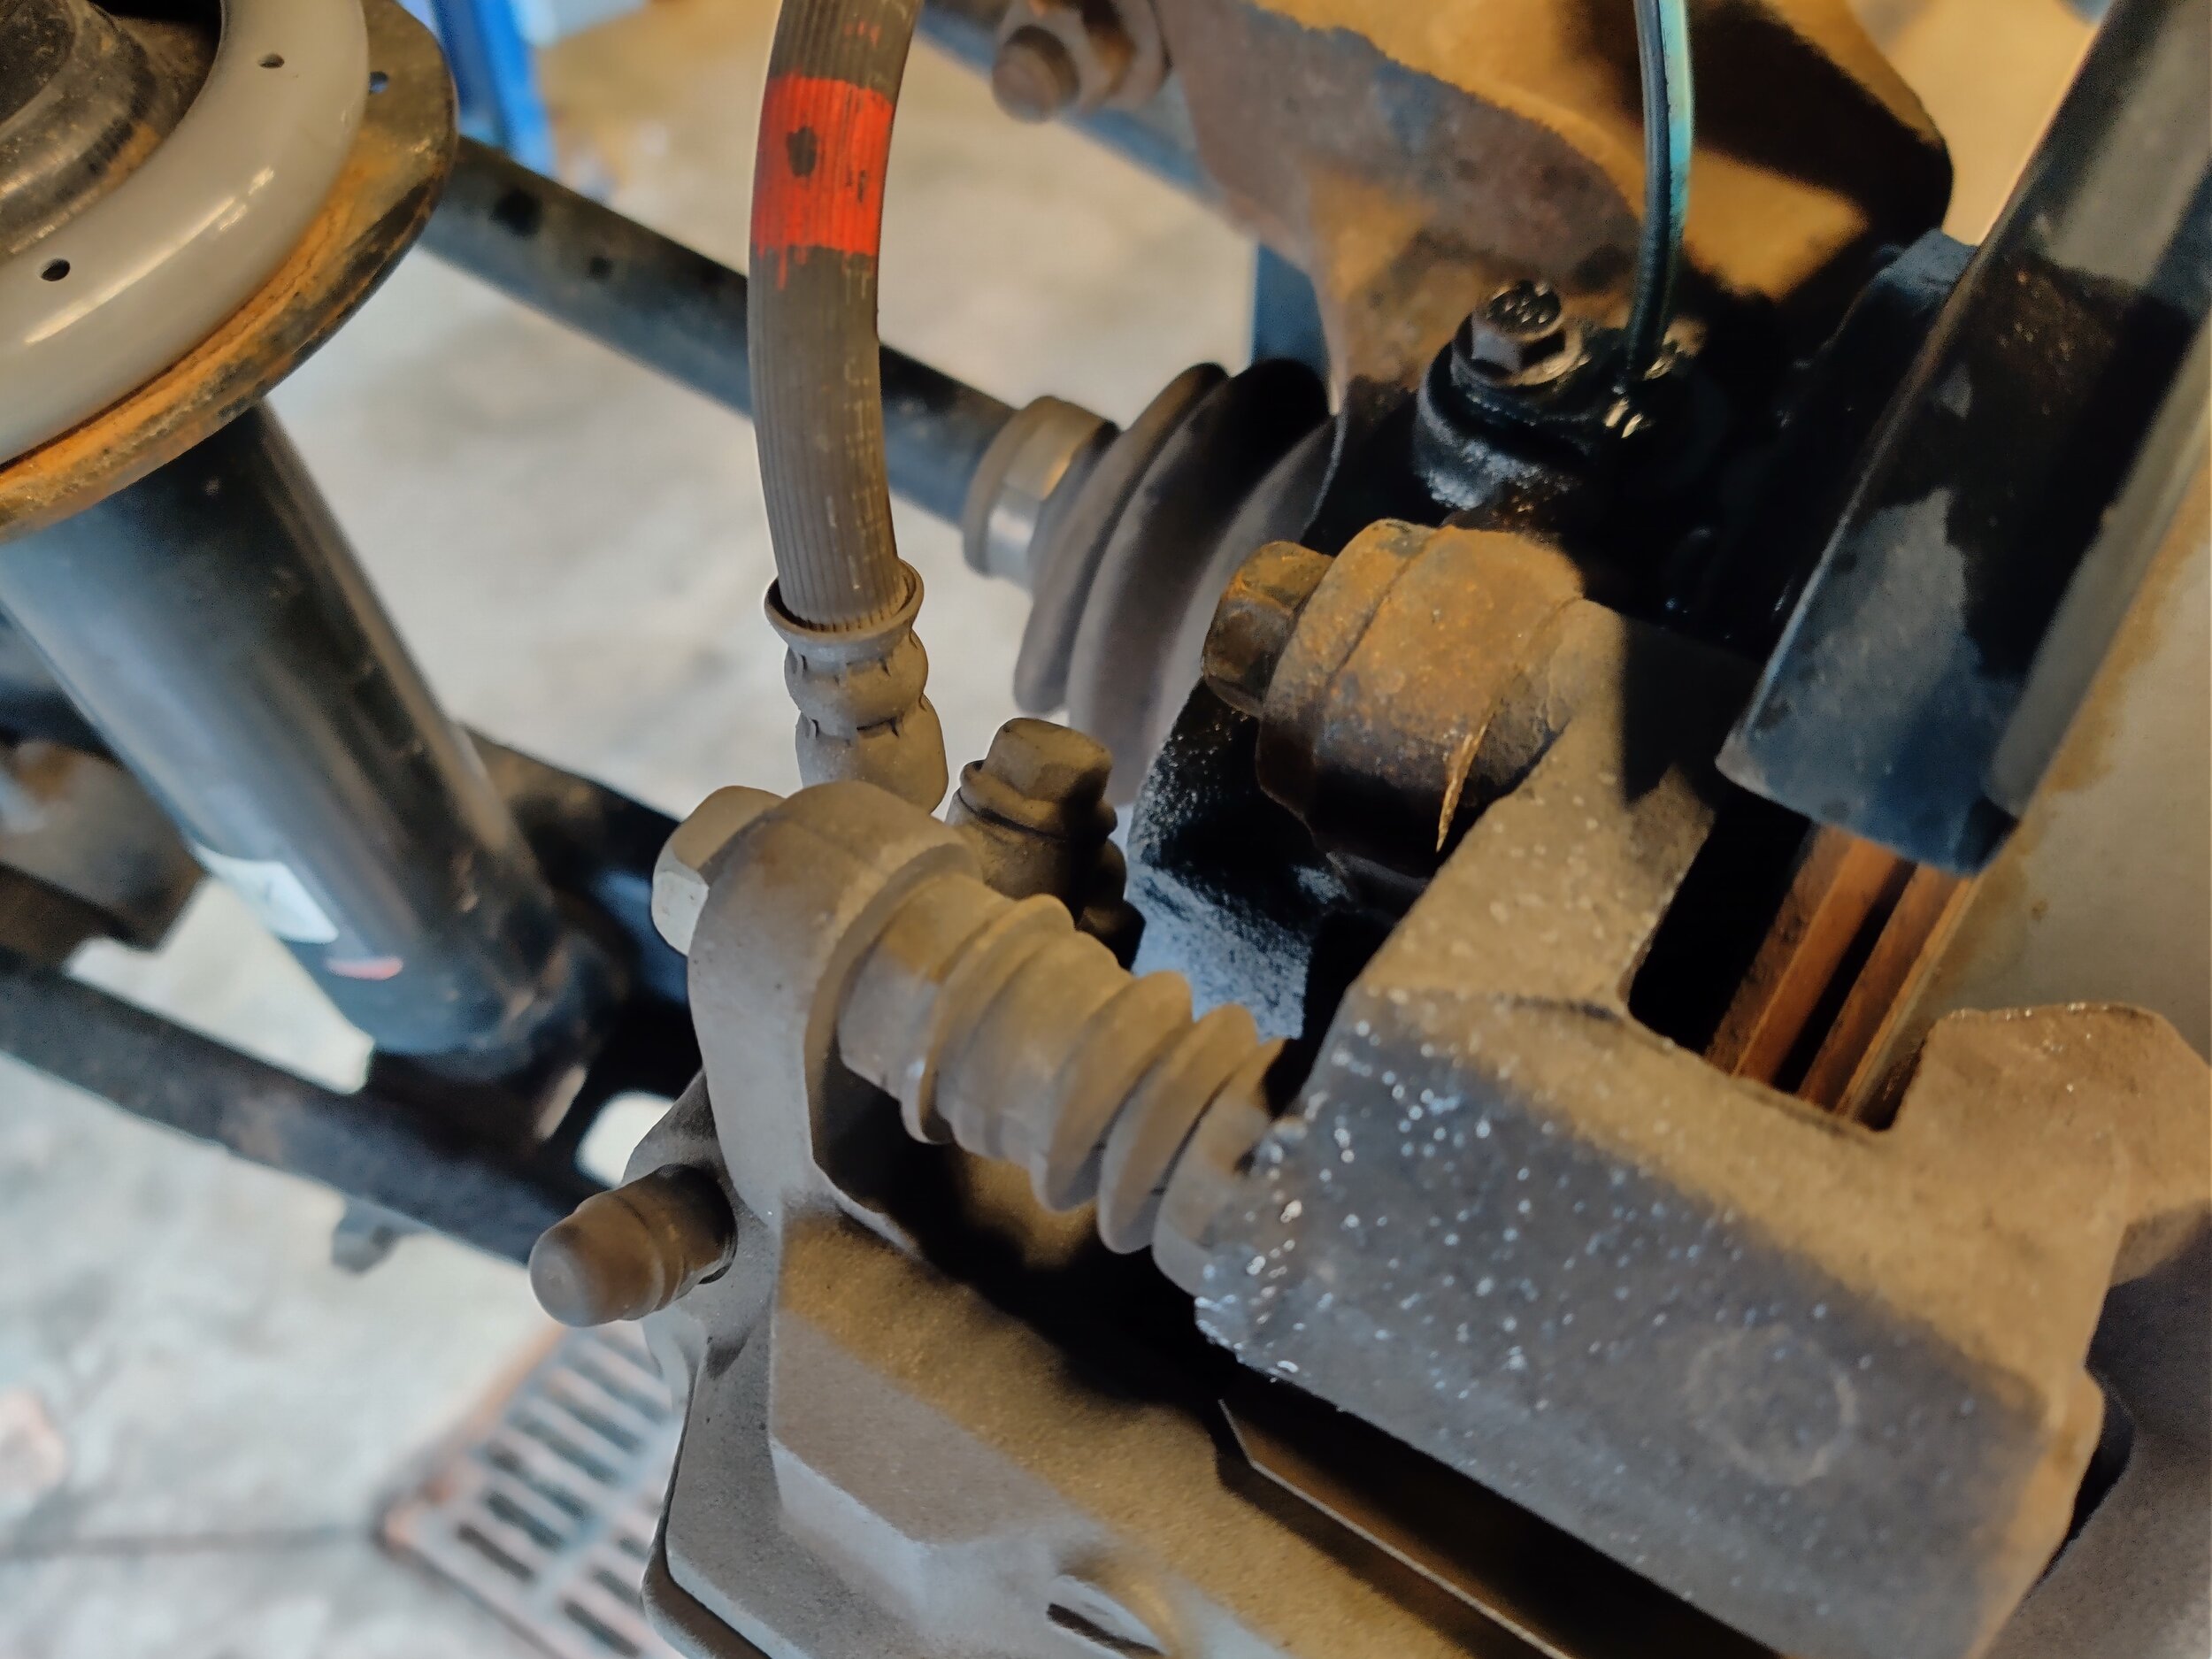
Here is where we can locate the upper bolt.
Up next will be removing the restriction rotor, brand sure your parking restriction isn't set before doing this. My favorite technique is using a threaded bolt inside the rotor, running information technology downward will button the rotor off of the old hub.

Here is our axle nut, a decent bear on can pause this free hands. You can also run into the the two threaded holes on the brake rotor that can aid easily remove it.

Axle nut and brake rotor removed.
Yous tin can remove the axle nut now with your 32mm socket and impact gun. Once it is removed this is a skilful time to check that the axle slides in and out, it can often become seized past dirt and rust. If information technology won't move you can use a punch to help gratuitous it upwards, you lot may even demand an air hammer for those really stuck Cv shafts.

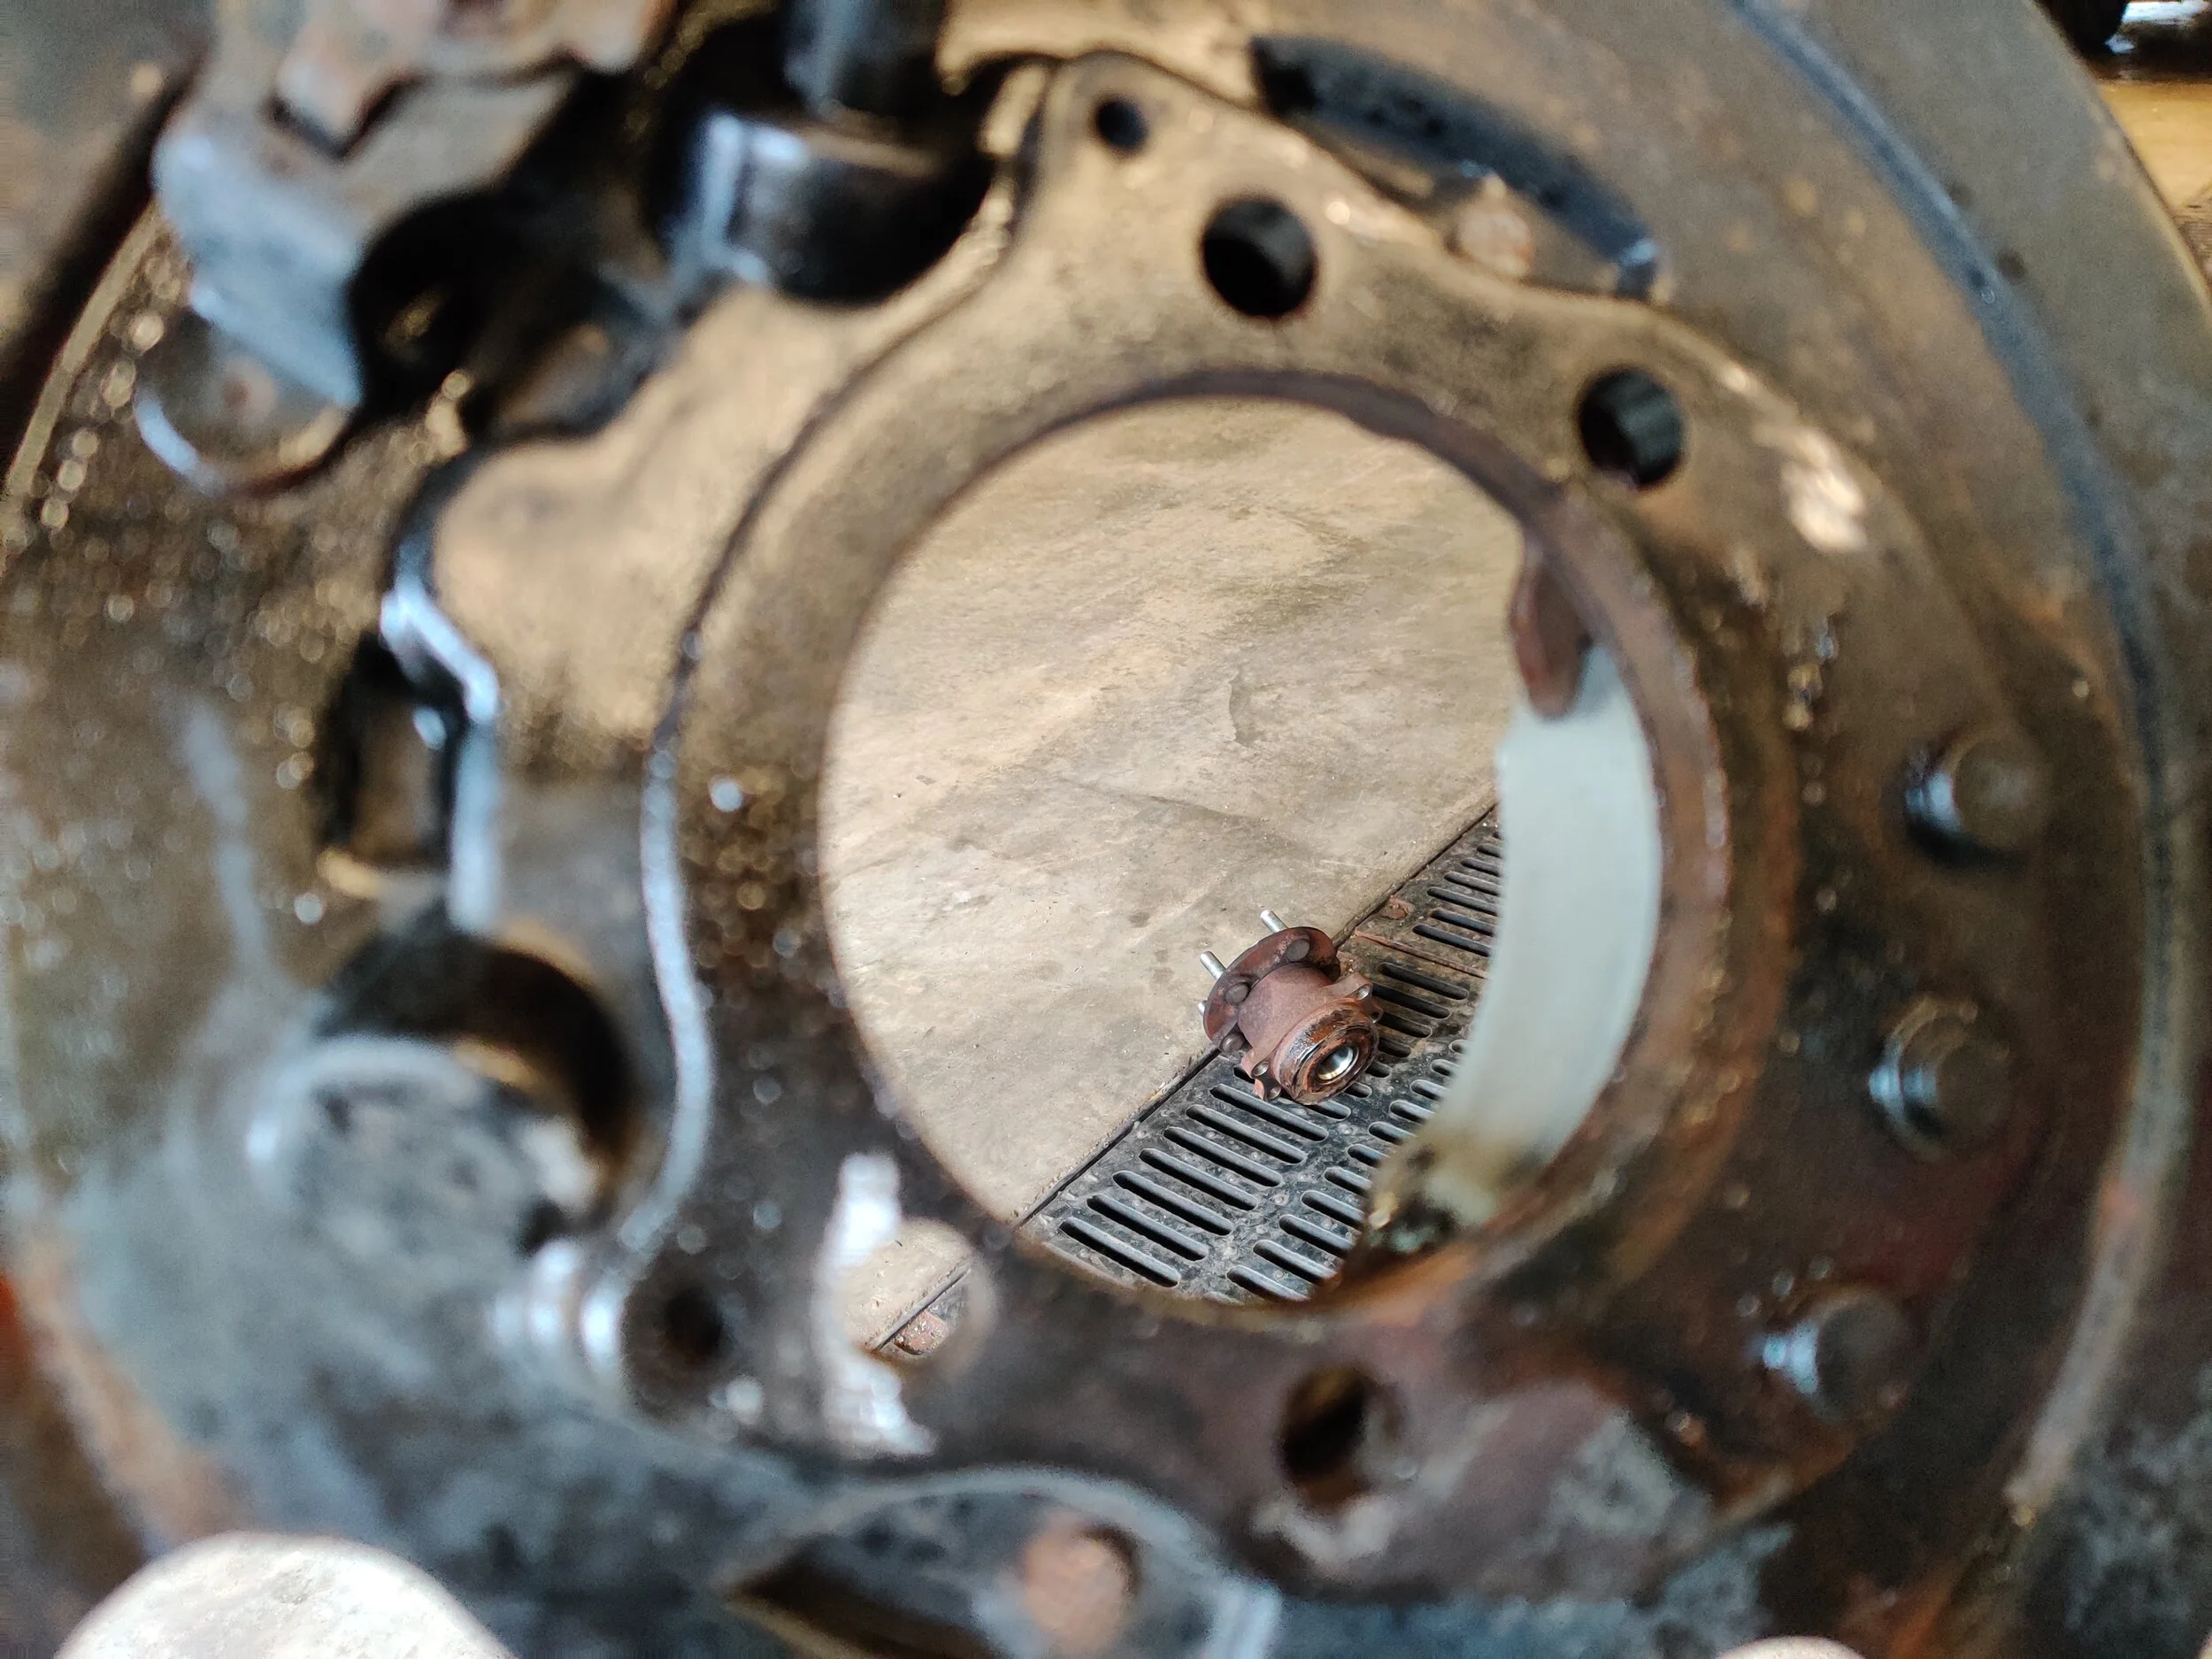
Here is your view with the axle nut and rotor removed. Yous tin can use a minor punch on the heart of the axle shaft it doesn't motility freely back and forth. This volition help when removing the hub from the shaft.
Located on the top of the knuckle behind the restriction rotor backing plate you will discover the abs sensor. I remove this to make sure information technology isn't damaged when removing the bearing and shifting the beam effectually. It is a unmarried 10mm commodities and so it just needs a bit of wiggling to remove it. Be careful not to damage information technology, it is a plastic bodied sensor.
Now you meet the abs sensor..

Now you lot don't. Place it somewhere safely.
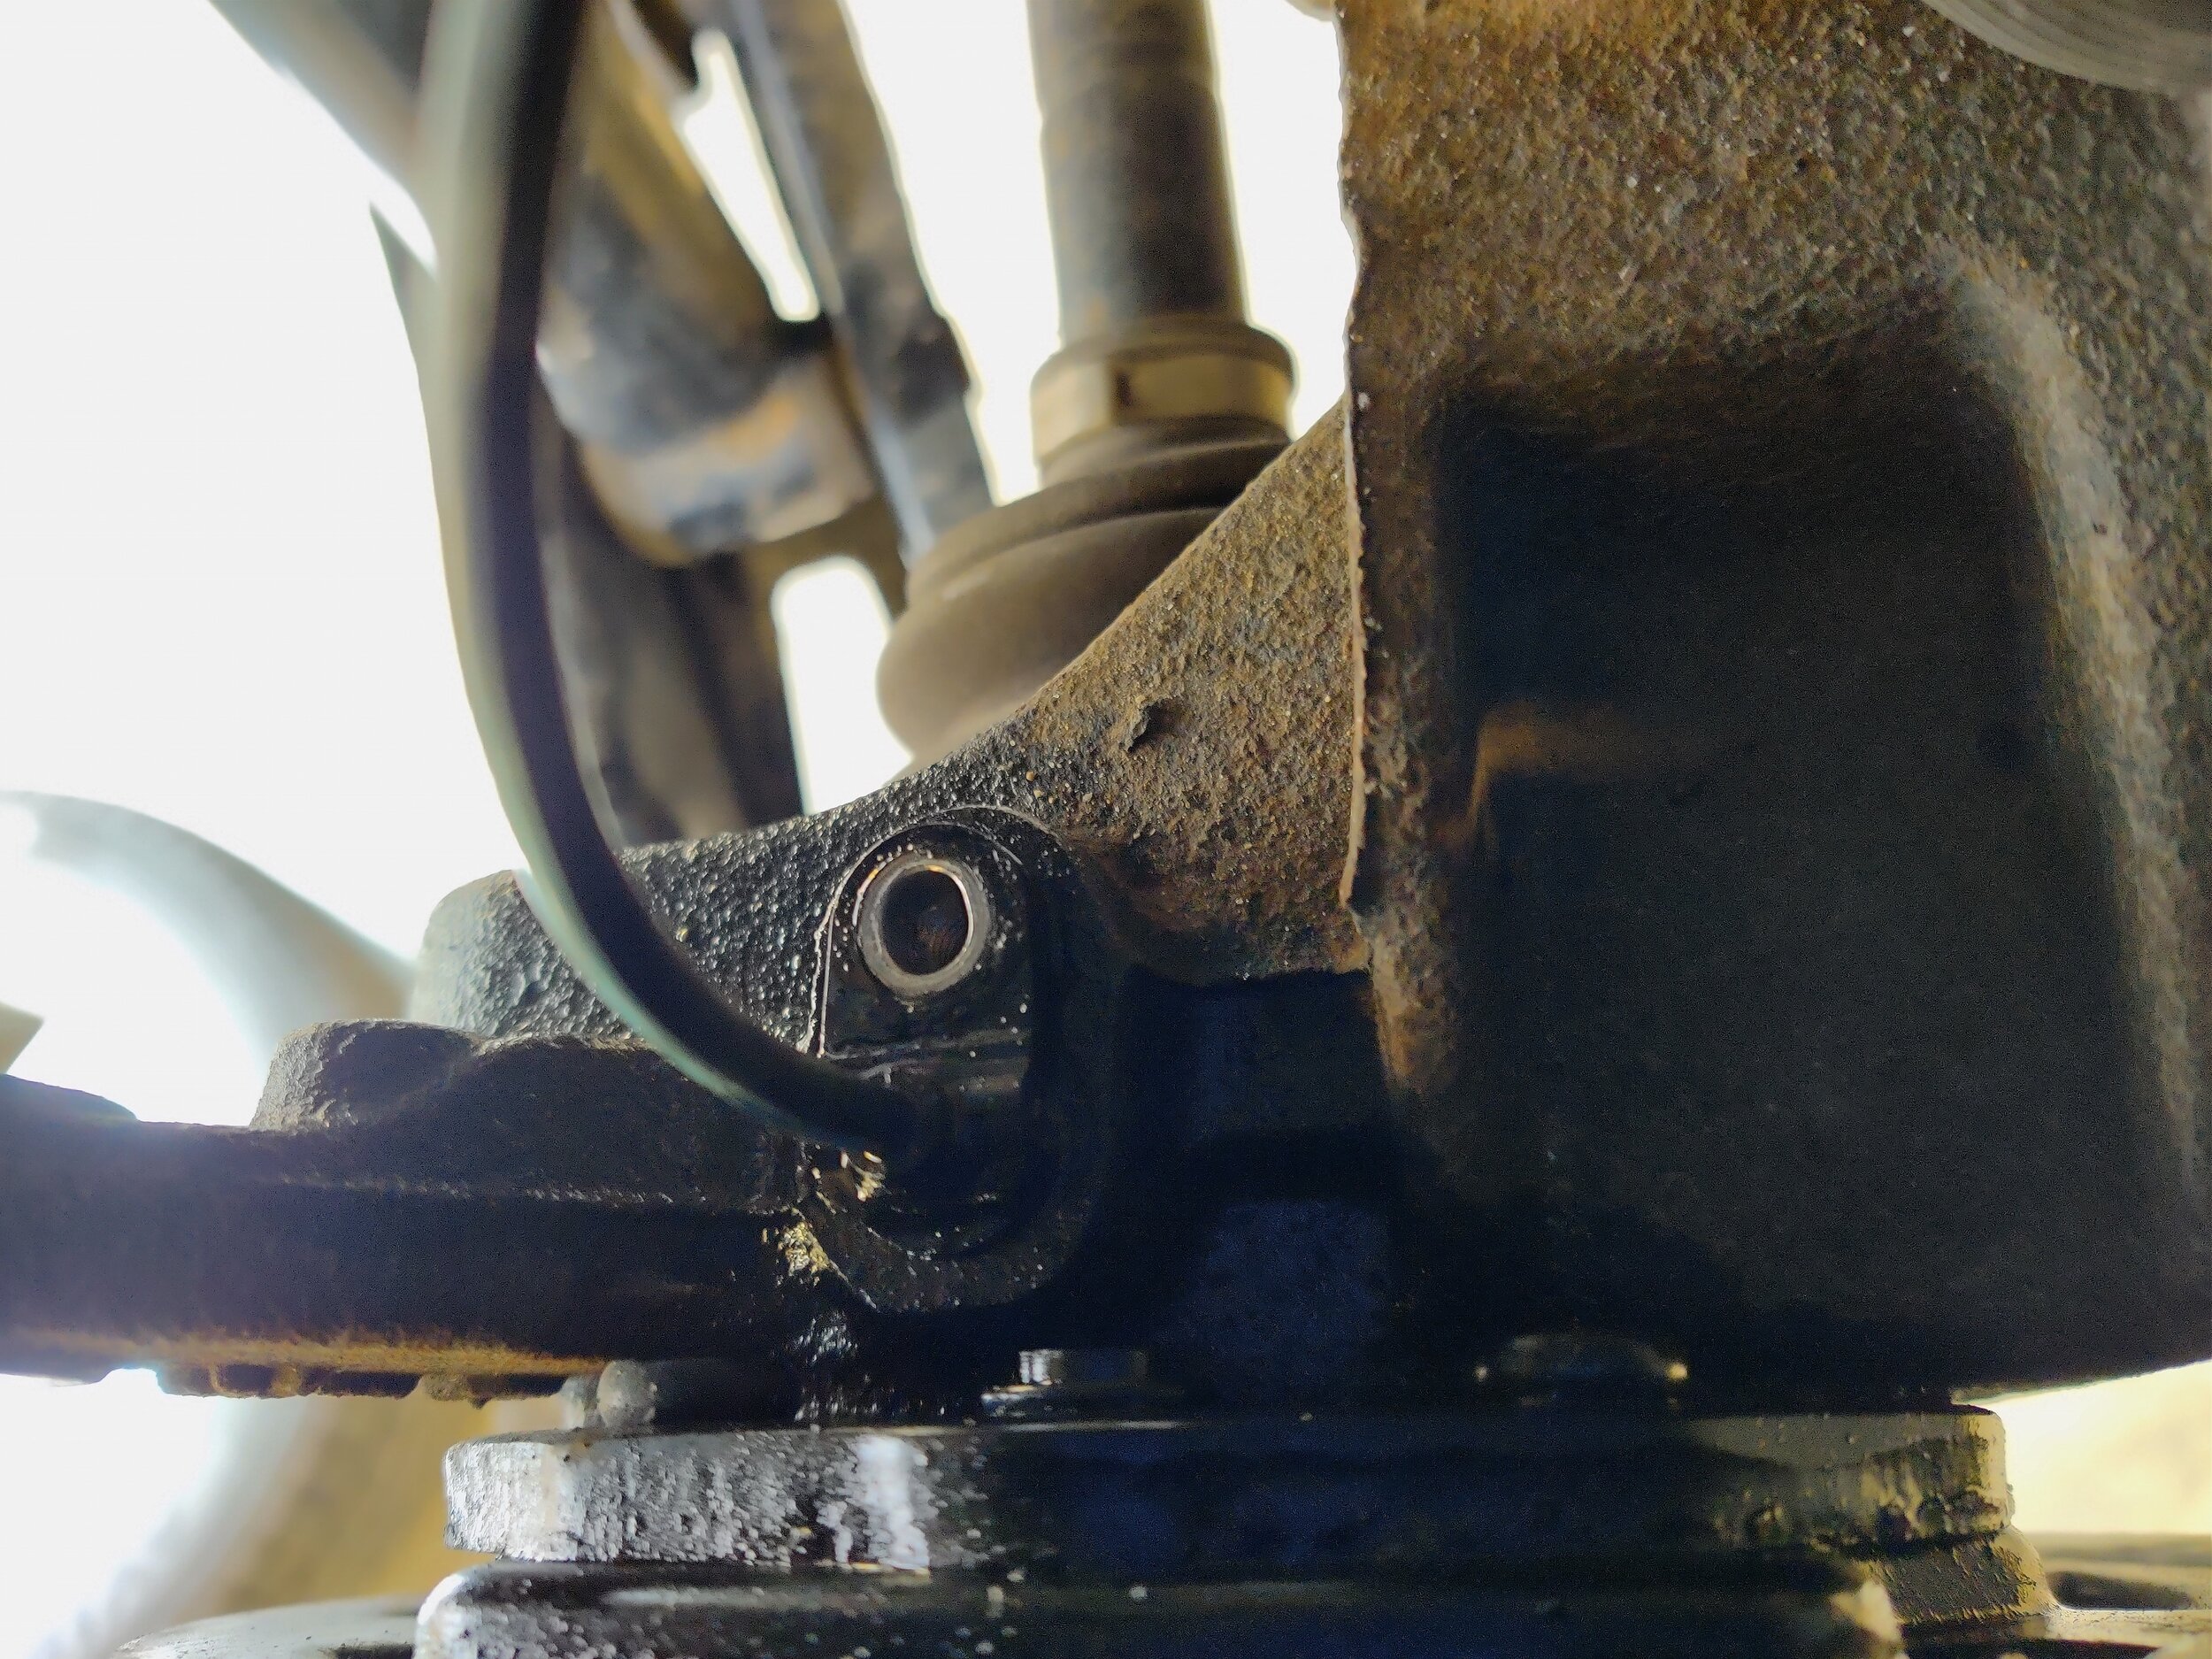
Now is the time to take the four bolts that concord the cycle bearing to the knuckle. From the backside of the knuckle these are easily visible adjacent to the Cv boot. A 14mm socket is your become to for removal, if your vehicle is older or rusty they can exist difficult to remove.

The four bolts that hold the hub in surround the cv beam, they are easy to access but may need a extension to help.
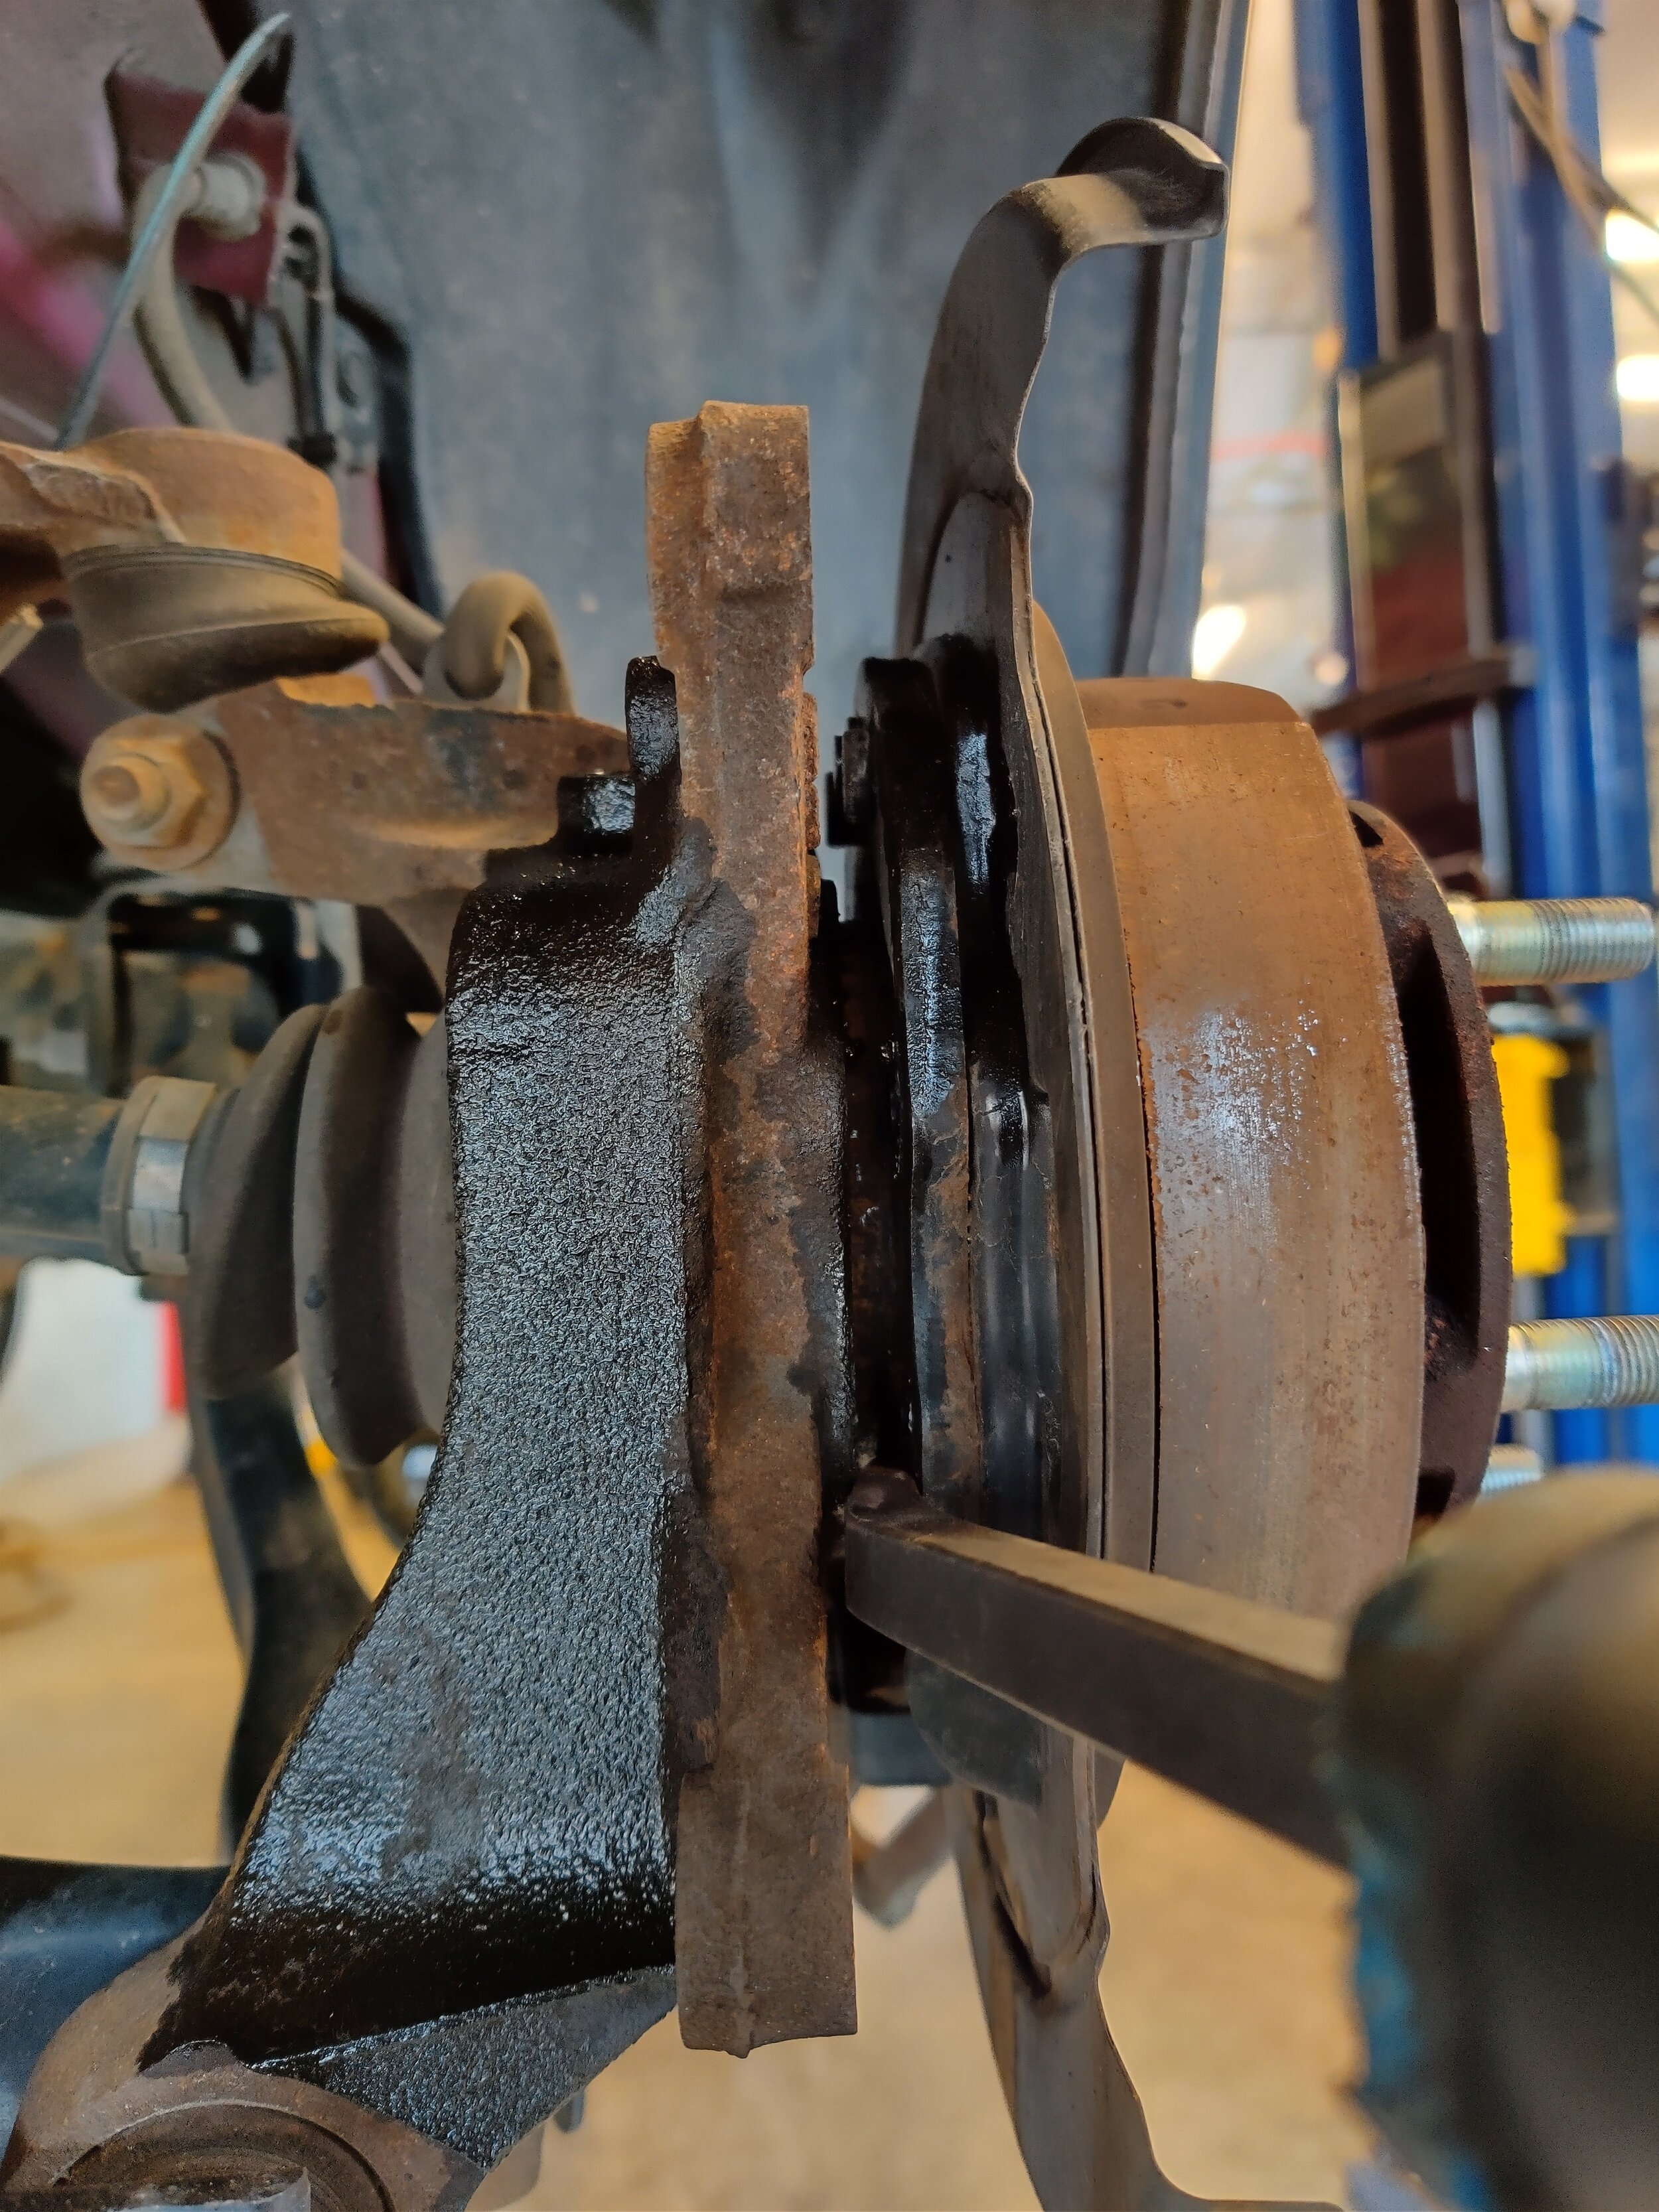
With all the bolts removed we can interruption the hub complimentary and make room for the new unit. I have had peachy luck using my smaller pry bar with a hammer striking handle on it. Another selection is a flat chisel to separate the knuckle from the bearing. The bankroll plate has a reinforced piece of metal across it that you can utilize your pry bar/chisel to suspension them free of one another. Once one side starts to split up you can movement to the opposite side to keep it coming out evenly.

A top down view of a good place to start prying/separating the hub from the knuckle.
Equally the hub separates from the knuckle up summit, we can move to the lower department to go along it moving out evenly.
This is hands the most difficult role of the bearing removal. Experience free to spray copious amounts of rust penetrant to make everything easier. Some are more than difficult than others, but after sometime information technology should pause free.

Prying from the opposite side, nearest the front end of the vehicle.
In one case the hub begins to come complimentary you virtually likely will run into the backing plate has come with the bearing. Belongings the backing plate and hammering in a circle will break the hub bearing free finding it'southward way to the floor.

At this point we need to pull the shield and bearing off of the axle shaft.

Up side by side is the last step of removing information technology from the shield. Hammer in around to pause information technology free.
Make sure the everything is cleared away on the floor, the last hammer strike volition most probable send the hub flying out.
You lot can now place your new begetting within the backing plate, the holes will line up when information technology is in the proper orientation. Using your manus you tin start to spin the hub bolts dorsum in. With 1 bolt started you will find the others line up and can be installed.

Line the holes up a best you can You can use a screwdriver to help. Having the axle nut on will keep the hub the from coming off.
Source: https://www.blingstrom.com/diy-project/2020/3/18/subaru-rear-wheel-bearing-its-a-subaru-thing
Publicar un comentario for "2013 Subaru Outback Napa Rear Wheel Bearings Review"